
Reference Downloads:
Homeowner’s Handbook to Prepare for Natural Hazards
Roof Underlayment for Asphalt Shingle Roofs
Asphalt Shingle Roofing for High Wind Regions
Coastal Construction Manual – Ch. 11 – Designing the Building Envelope
Materials:
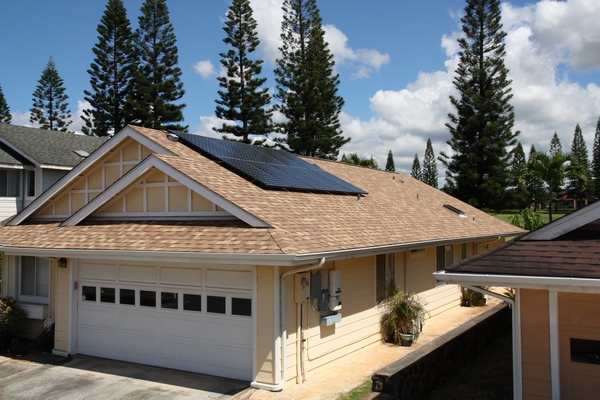
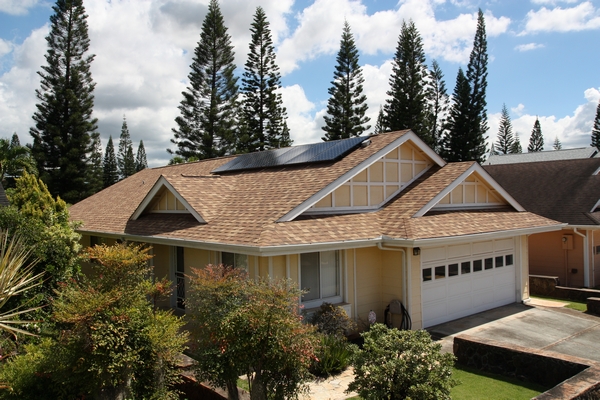
1. CertainTeed Landmark Solaris Gold – Resawn Shake
4. CertainTeed Solaris Hip & Ridge Caps
5. CertainTeed SwiftStart Starters
7. Pipe Vent Flashings – Lead
8. 1.5″x1.5″ Painted Galvanized Drip Edge Flashing
10. Hot Dipped Galvanized Nails
Installation Methods
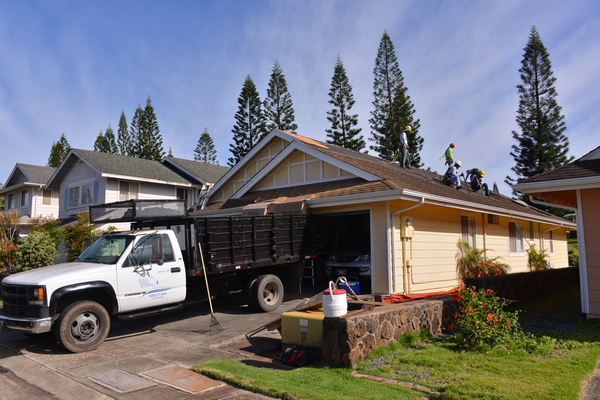
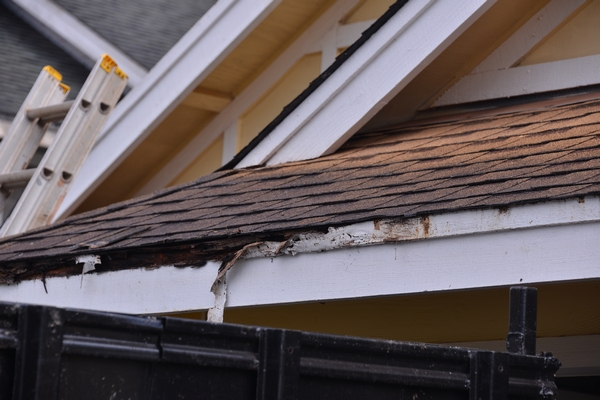
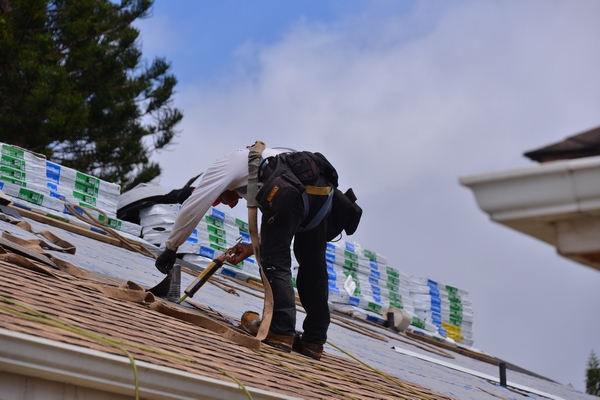
1. Strip & remove of all existing roofing and dispose of in dump truck. Dump Truck to be removed at the end of work day.

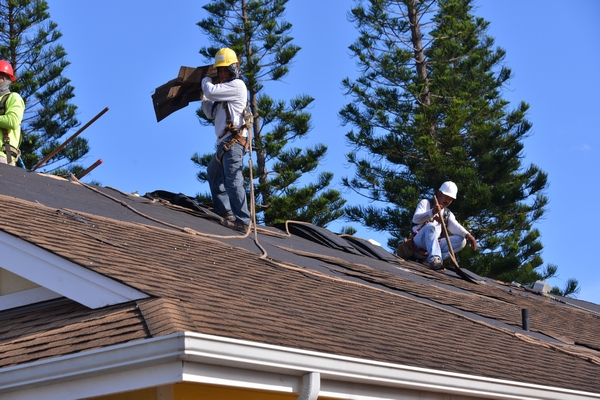
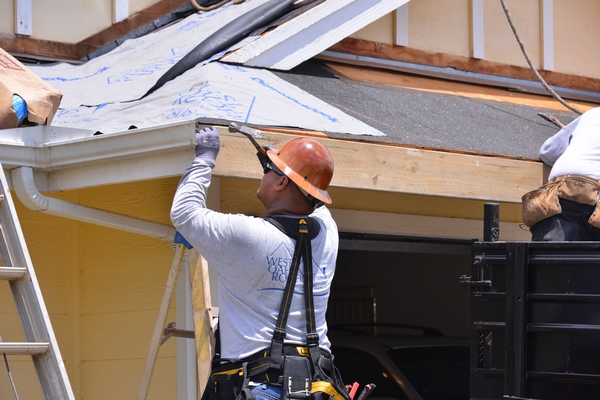
2. Inspect plywood, rafters, and fascia board for damage and replace with new.
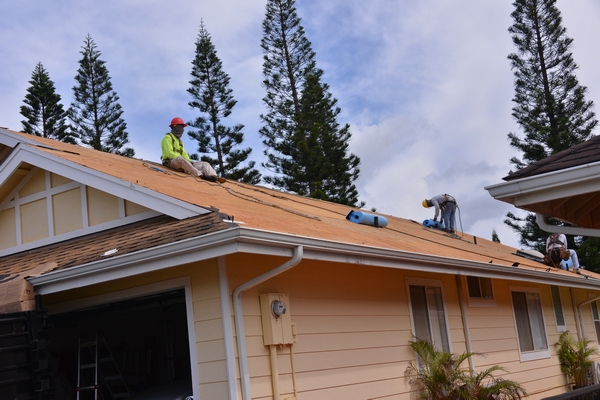
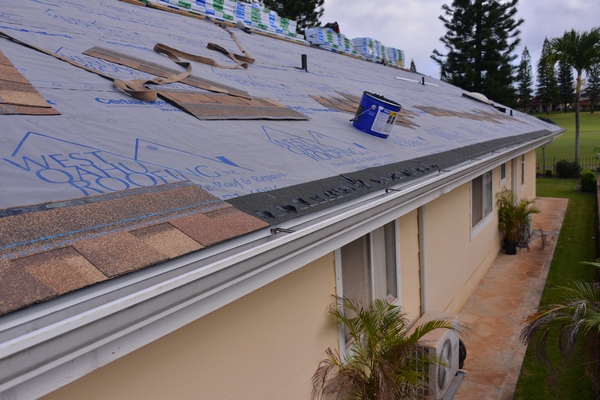
3. Install CertainTeed WinterGuard peel & stick underlayment throughout entire roof area.

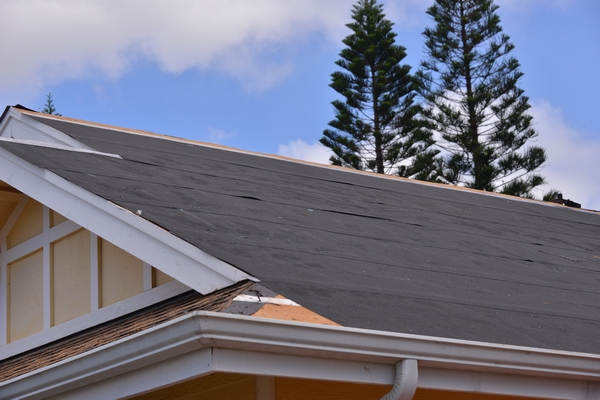
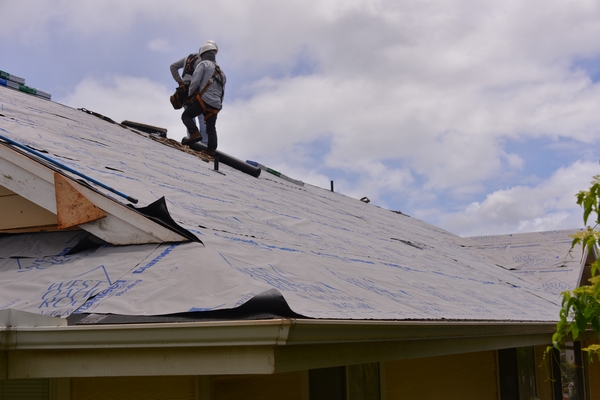
4. Install CertainTeed Diamond Deck Synthetic Underlayment throughout entire roof area fastened with 3/8″ staples.
5. Install 1.5″ x 1.5″ primed shingle drip edge on rakes and eaves of roof.
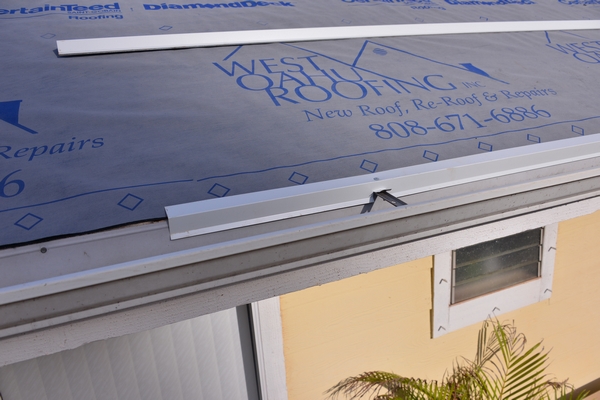
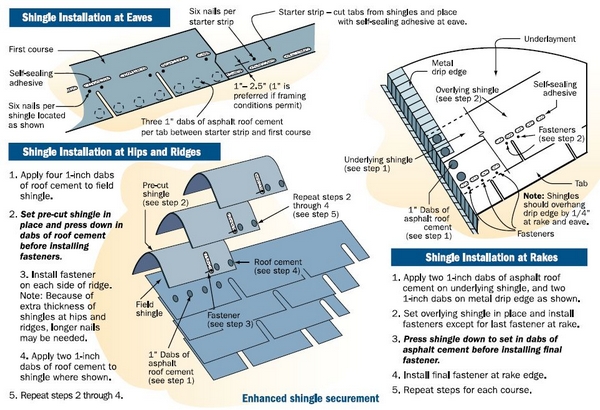
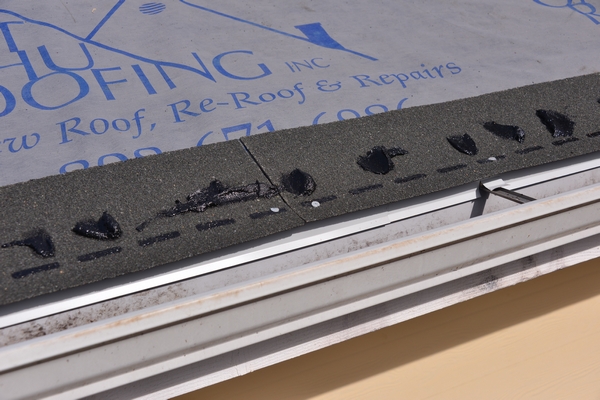
6. Install CertainTeed SwiftStart Starter Courses on all rakes and eaves.
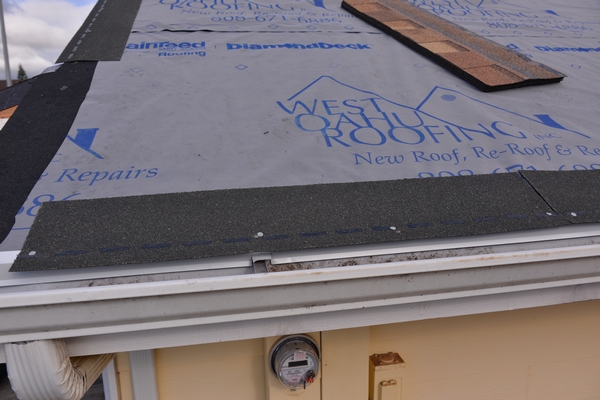
7. Apply Dabs of Roofing Cement under all shingles installed on rakes and eaves.

8. Install lead pipe vent flashings on all vent through roof penetration.

9. Install 2′ x 2′ square of CertainTeed WinterGuard peel & Stick underlayment around all roof penetrations.
10. Install CertainTeed WinterGuard peel & stick underlayment on valleys. Install valley shingles using weave method.
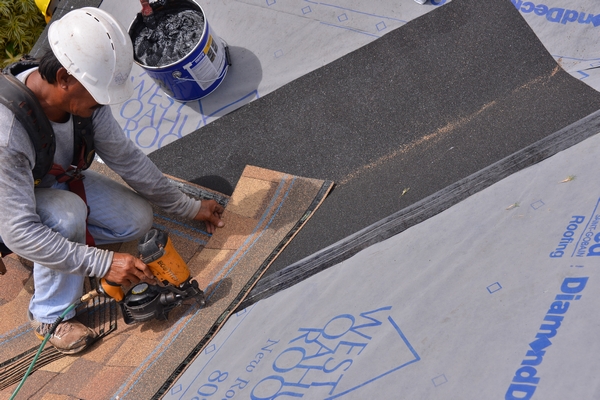
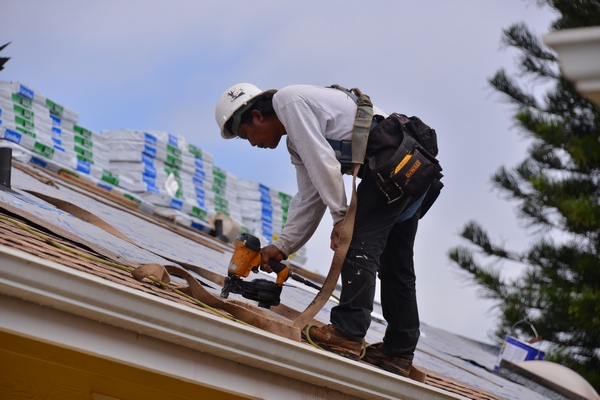
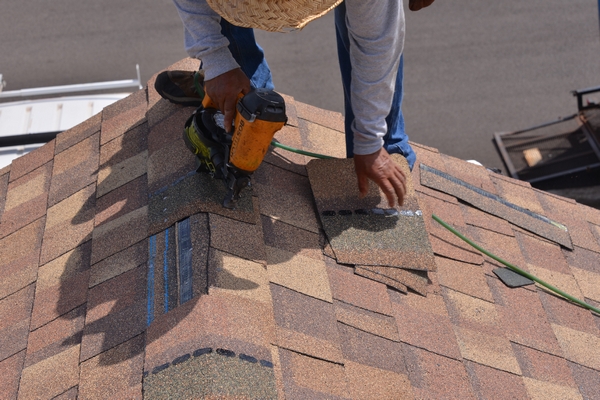
11. Install CertainTeed Landmark Solaris Gold Shingles as per manufacturer’s specifications with 6 nails per shingle.
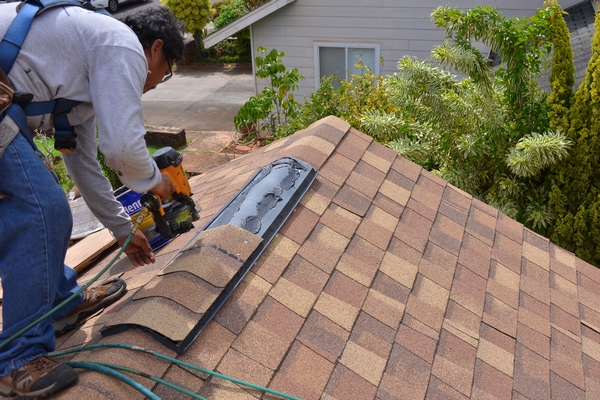
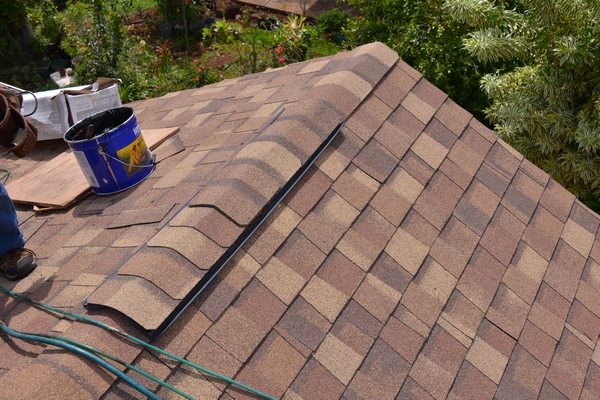
12. Install CertainTeed Hip & Ridge Caps with dabs of roofing cement under all hip.
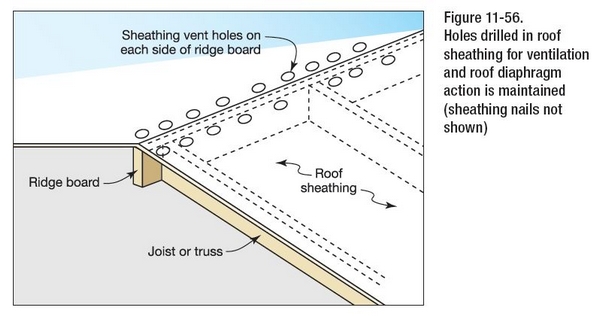
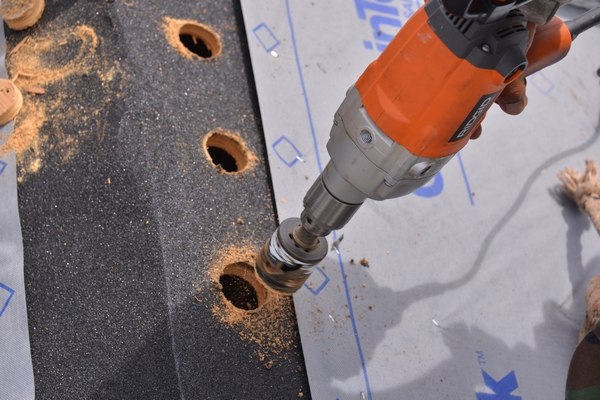
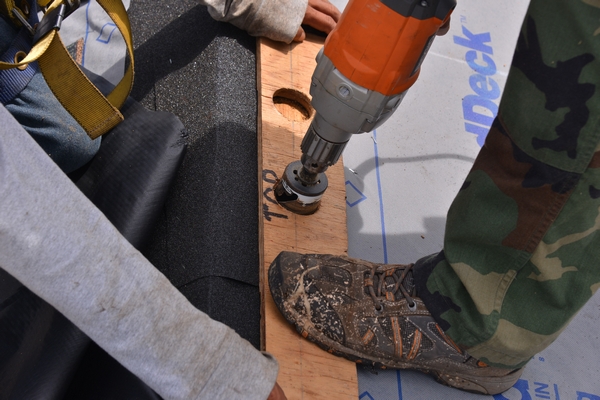
13. “Drill 2- to 3-inch-diameter holes in the sheathing between each truss or rafter approximately 1.5 inches down from the ridge. The holes should be equally spaced and should remove no more than 1/2 of the total amount of sheathing area between the rafters. For example, if the rafters are spaced 24 inches o.c. and 2-inch-diameter holes are drilled, they should be spaced at 6 inches o.c., which will allow about 12 square inches of vent area per linear foot when the holes are placed along either side of the ridge.” – Designing The Building Envelope, Volume II, pg. 11-50 – 11-51


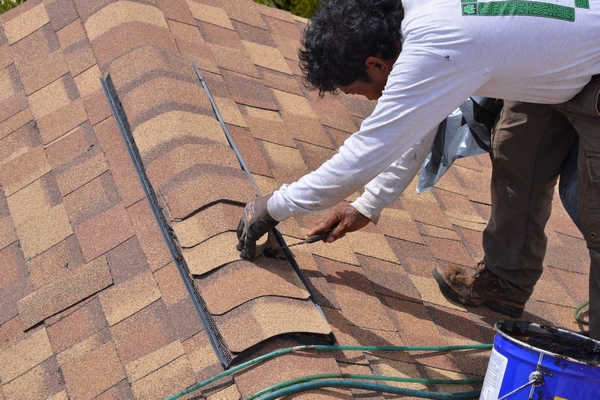
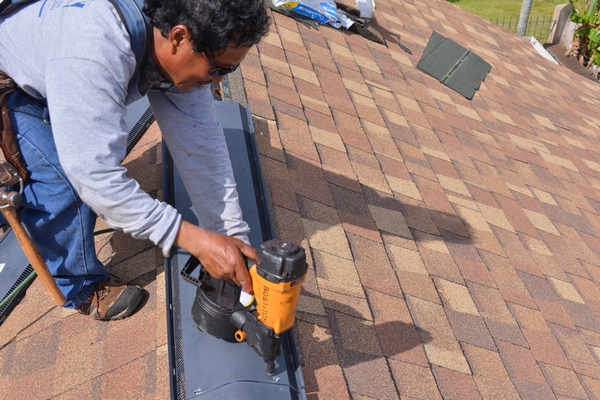
14. Install CertainTeed 9″ Filtered Ridge Vent as per manufacturer’s specifications.
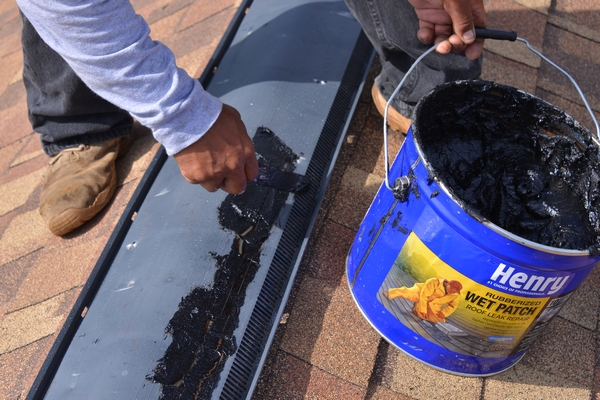
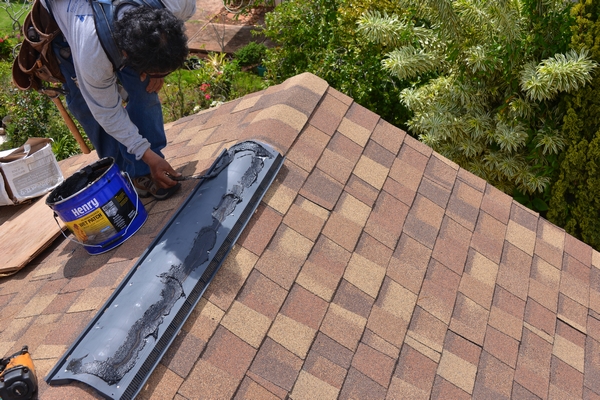
15. Apply roofing cement along entire length of CertainTeed 9″ Filtered Ridge Vent.
16. Install CertainTeed Hip & Ridge Caps with dabs of roofing cement under all ridge caps.
17. Clean up all roofing related debris and leave the house the better than when we arrived.
Many Thanks to the University of Hawaii Sea Grant College Program to allow West Oahu Roofing, Inc. to be a PROUD PARTNER in The Homeowner’s Handbook to Prepare for Natural Hazards!
Much of the information on this Project can be found in Appendix D of the Book.